Logging in to the Guild website couldn’t be easier. The direct URL is https://www.beerguild.co.uk/wp-login.php; it may be useful to save this in your bookmarks for easy access in the future.
Alternatively, we’ve provided a link to the login page in the top-level navigation of the page (see below). Clicking on the “Login” text will take you to the login form.
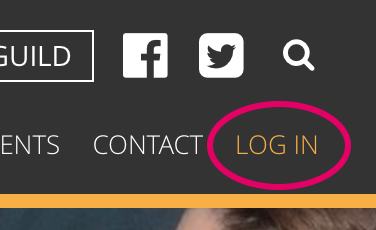
Please enter your email address, password and tick the “I’m not a robot” box to enable the login button.
To log in use the email address registered with the Guild. This will be your email as described on the corporate member profile page.
If you’re experiencing problems logging in, please contact secretary@beerguild.co.uk.
When logging in to the Guild’s website for the first time, you’ll need to follow the instructions to “reset your password”. We’ve done this for security; it means you’ll set your own password that nobody else – including anybody at the Guild – will know.
To reset your password visit: https://www.beerguild.co.uk/wp-login.php?action=lostpassword and enter your email address. We’ll send a secure hyperlink to your email that will allow you to create your own password and log in.
In the first instance, please ensure that the spelling and format of your email address is correct. If you continue to encounter problems logging in, please contact secretary@beerguild.co.uk.
The WordPress interface is simple and easy-to-use; intentionally designed to have an interface that reduces clutter, distractions and the learning curve of getting to know how to edit content.
After logging in, you’re immediately redirected to the “Dashboard” page. You can re-access this area at any time after logging in by clicking on the “Edit profile” link in the menu or using the WordPress Admin Bar.
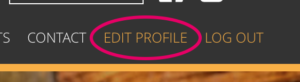
NB: If you don’t see “Edit profile” but instead “Log in”, please click the log in link and authenticate yourself to edit profile details.
Once you’ve obtained your login details – having established the email address to use and set your password – you’re free to change your details on the website as little or as often as you like.
The idea moving forward, is that profile management and updating becomes your responsibility. We’re removing any barriers and lead-time that previously stood in the way and are putting all the power in your hands to maximise the corporate profile you have on our website.
We’ve provided instructions and guidelines to help you complete your profile on the Guild’s website, which includes our recommended word counts too.
We’re not strictly enforcing these word counts but instead trusting that all members will respect these guidelines and keep their profiles within these boundaries.
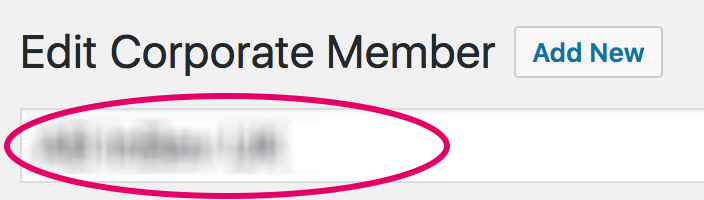
In the editor, change the wording in the top input box, directly underneath the “Edit Corporate Member” heading.
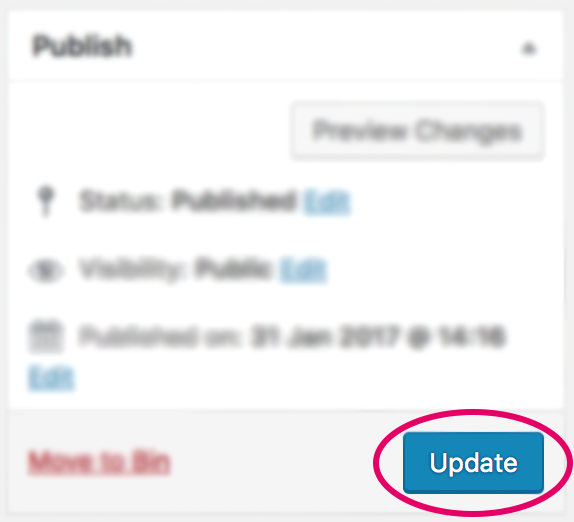
To save any changes in the WordPress editor, click on the Update button, which is located in the footer of the “Publish” metabox.
In the WYSIWYG editor (What You See Is What You Get), you can update your corporate profile write-up. You can add images, bold text and add quotes – just like you can in Microsoft Word.
You can add your corporate profile to a category by using the “Categories” metabox, which is located just to the right of the main WYSIWYG editor.
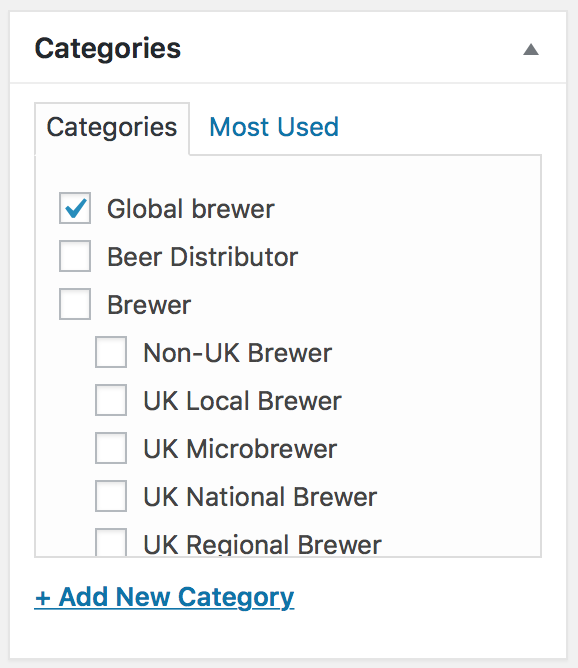
Here you can select all those that are appropriate to your business. If a category that you belong to is missing, you can add to our list by clicking the “+ Add New Category” link.
You can update all of your corporate information from address, contact details, social media channels and representatives from within the tabs underneath the “Corporate information” heading – which is situated just below the main editor.

NB: as with other information, to save any changes you make, please click the “Update” button in the “Publish” metabox.
If a company contact is also a member of the Guild, you can save adding in their details again by linking directly to their member’s profile.
Populating the “Guild profile” field with a user will hide all the other options.

Sometimes it may be necessary to remove a contact if they’ve left the business or are no longer responsible for enquiries.
At the far right of each row there’s a solid grey bar, hovering your mouse over this bar will reveal a “minus” icon.
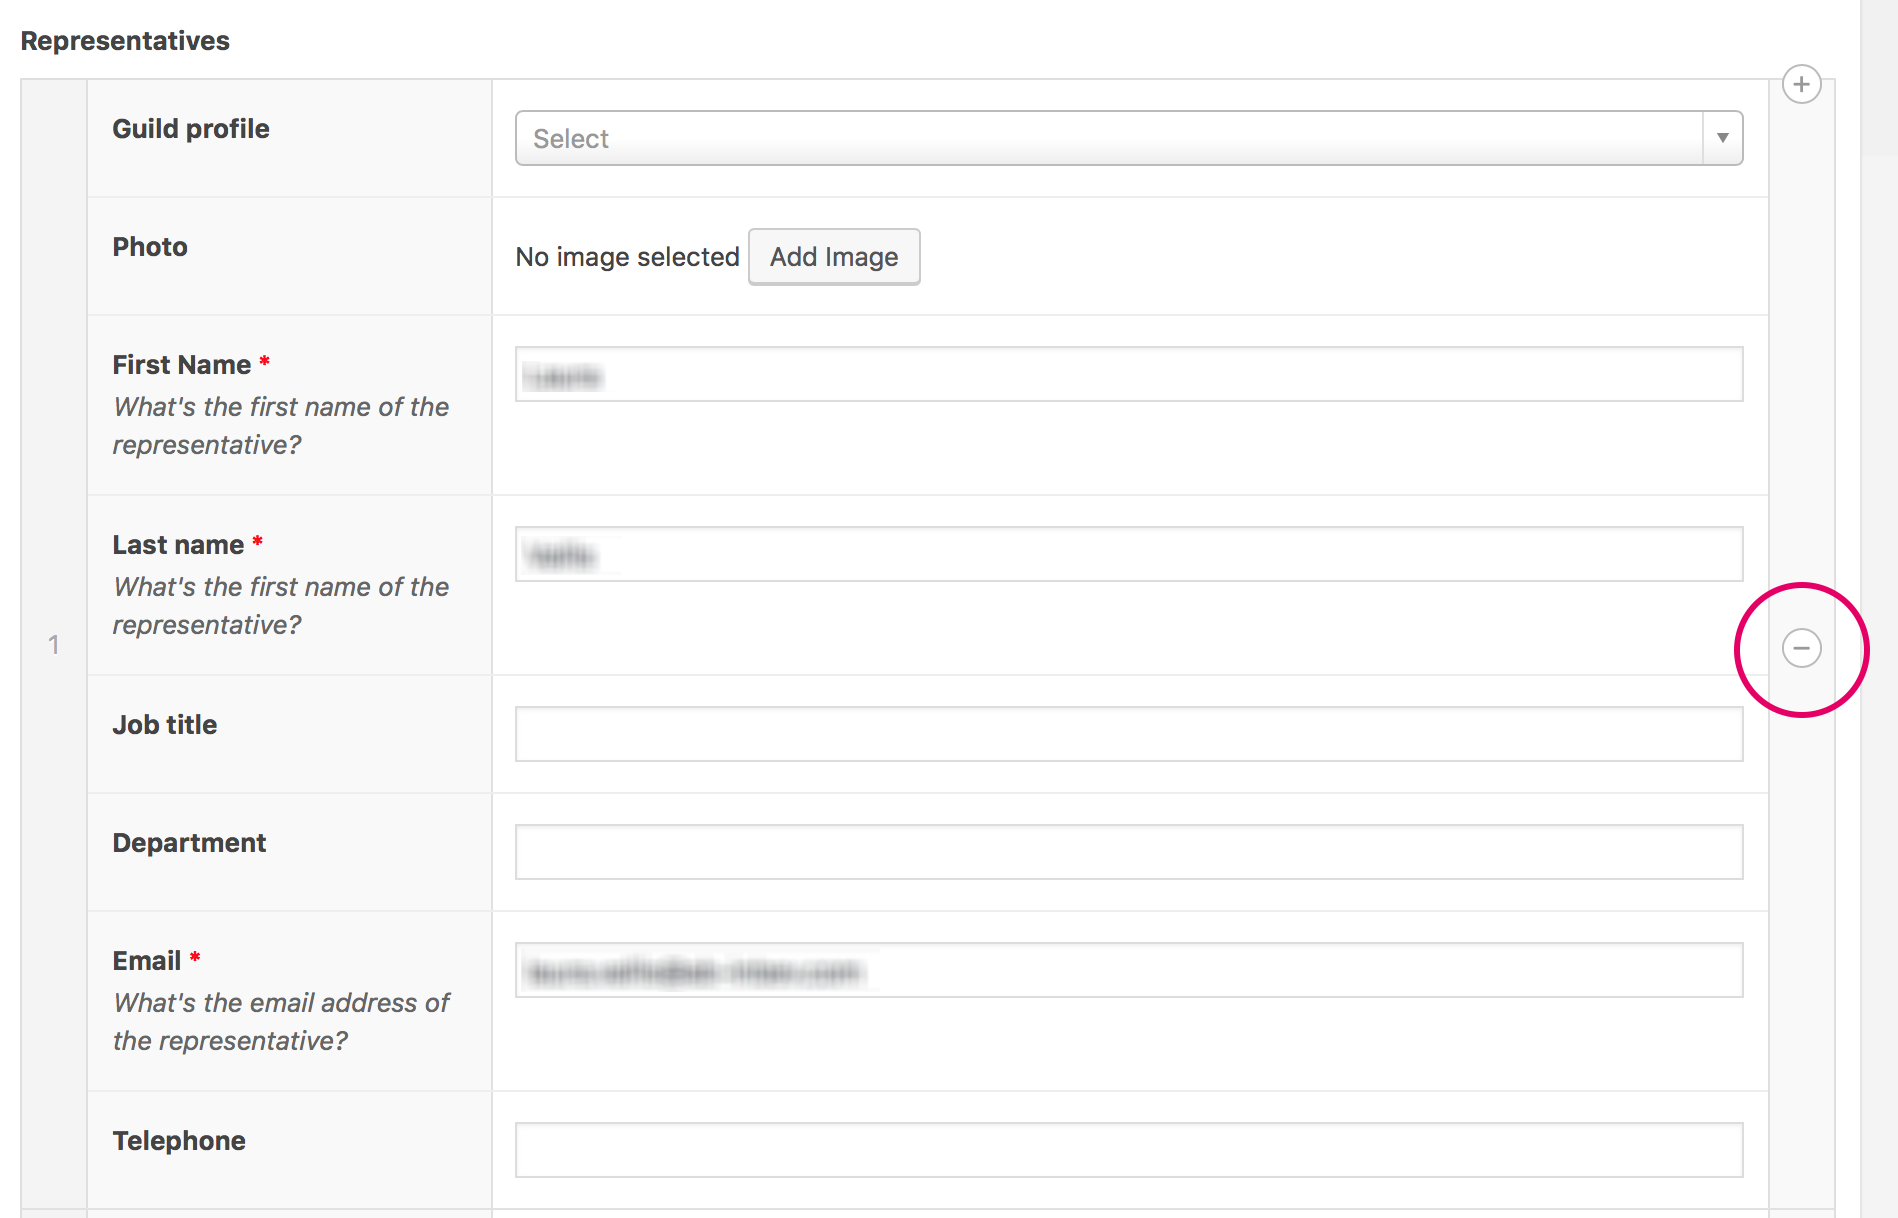
Clicking on the minus icon will remove the user from the list. If you delete a user by accident, you will need to either:
- add them again manually; or,
- refresh the page without saving your changes.
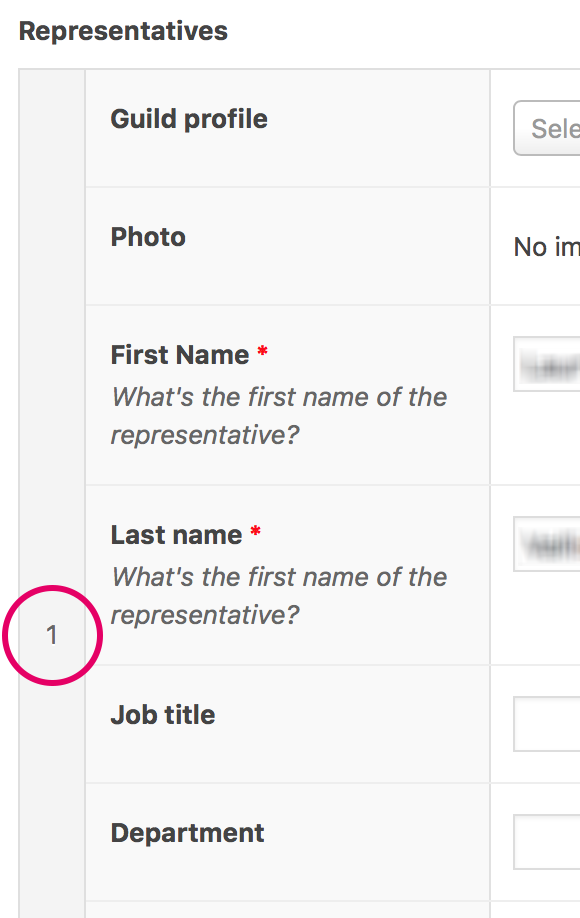
Hovering over the number next to each field label will display a four-way directional arrow. Clicking, holding and then dragging will allow you to move items around and adjust the order of representatives.
The number you need to hover over is identified below:
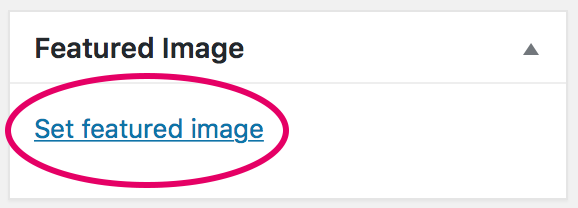
The image for your corporate profile is controlled from within the “Featured Image” metabox. To add a featured image, click the “Set featured image” link.
NB: if an image has already been set, you’ll first need to click the “Remove featured image” link.
For ease, we’ve produced an Adobe Photoshop template with guides to illustrate the “safe area” of the profile image.
Your photo should either by JPEG or PNG format and no larger than 1MB. We advise having your image treated by your in-house design team to have the image sitting in a canvas:
- 1474px (w)
- 984px (h)
We recommend having padding either side of your logo to allow for any cropping that takes place when the image is displayed to a user.
To avoid any issues with the display on the front end of the website, your image shouldn’t ever be smaller than:
- 737px (w)
- 492px (h)
If you’re struggling to get your image looking right, or don’t have in-house design capabilities, please send your logo to ian.austin@hgacreative.com.